
Why Make This Christmas Oreos
There’s something truly magical about turning classic treats into festive delights, and these Christmas Oreos are a perfect example. With their rich chocolate flavor and delightful candy coating, these cookies are not just tasty but also visually stunning, bringing a dash of holiday cheer to any occasion. Easy enough for kids to help with, this recipe combines simple ingredients with fun, making it ideal for holiday gatherings, cookie exchanges, or just a sweet treat for yourself. Additionally, they make wonderful gifts when beautifully packaged. Imagine the smiles on your loved ones’ faces when they receive such a festive and delicious surprise!
How to Make Christmas Oreos
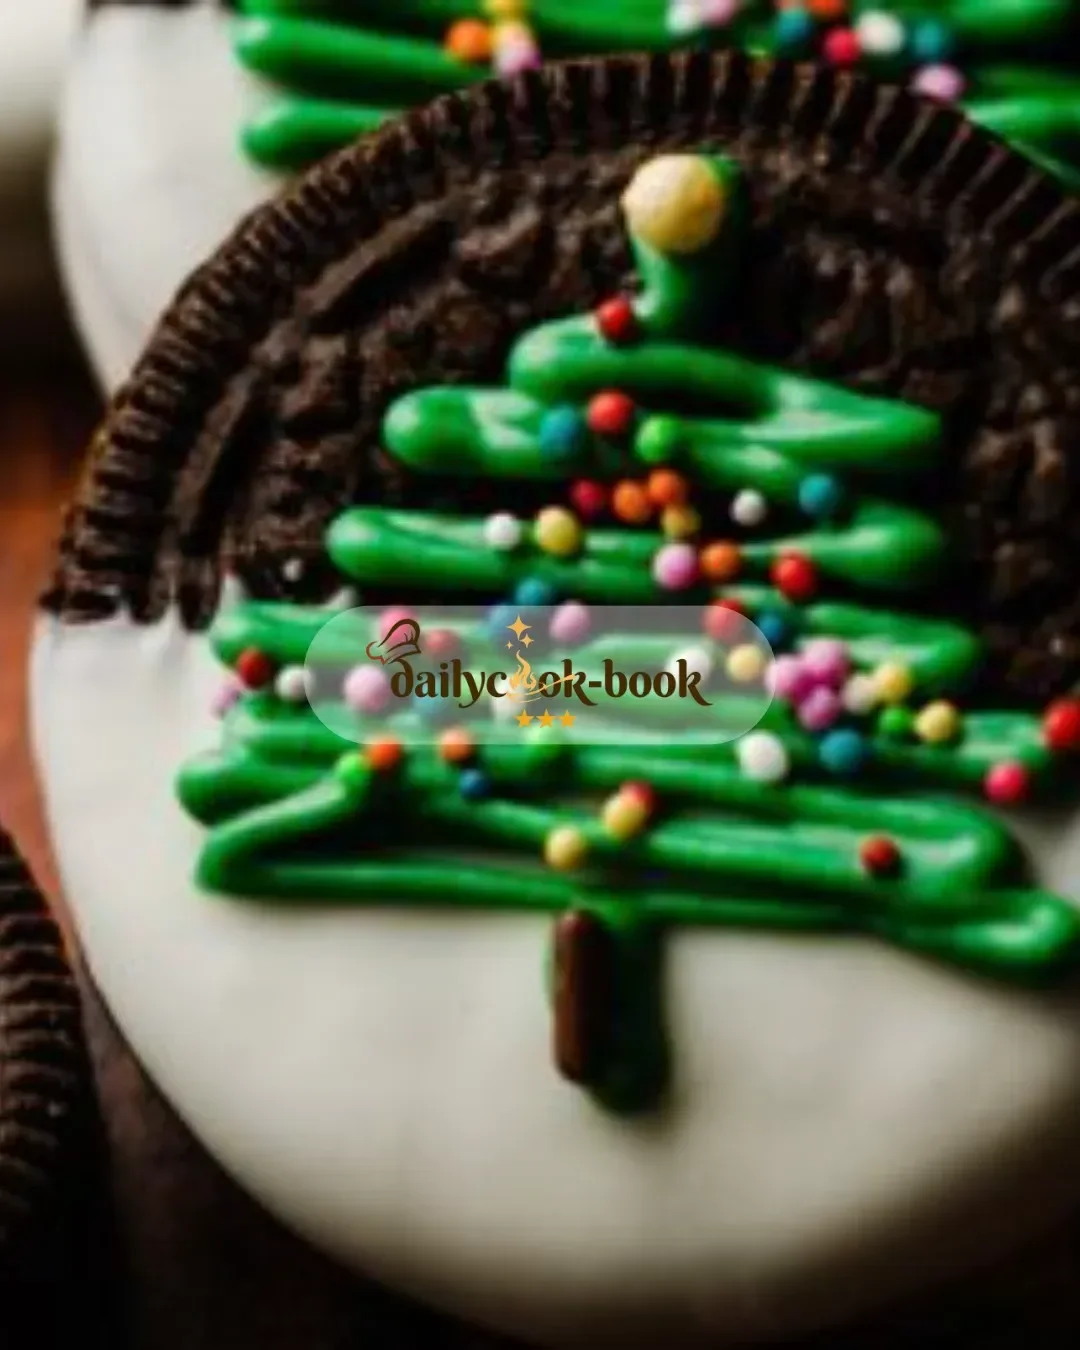
Making Christmas Oreos is straightforward and fun. You’ll first dip the Oreos in white chocolate to create a smooth, snowy blank canvas. Then, add a touch of color and creativity with green candy melts to create Christmas tree designs. The optional toppings like rainbow nonpareils or gold stars will add a delightful flair, making each cookie unique. Whether you choose to indulge while enjoying the aroma of melting chocolates or have little hands help with decorating, you’ll create sweet memories along the way.
Ingredients:
- 4 ounces white chocolate or white candy melts
- 12 Oreos
- 2 ounces green candy melts
- Rainbow nonpareils (optional)
- Yellow or gold beads or stars (optional)
- Chocolate jimmies (optional)
Directions:
- Start by lining a large baking sheet with parchment paper or a silicone baking mat. Set it aside.
- Melt the white chocolate or white candy melts in the microwave. Use a small, shallow microwave-safe cup or bowl, or a double boiler, heating until smooth. If using a double boiler, transfer the melted chocolate to a small bowl for easier dipping.
- Dip the bottom half of each Oreo into the melted white chocolate. Lay the dipped Oreos on the prepared baking sheet to harden, which should take about 15 minutes.
- Once the white chocolate has set, melt the green candy melts in a similar manner, using either a microwave or a double boiler, until smooth.
- Transfer the melted green candy to a piping bag. Snip a tiny bit off the corner for a simple piping option, or use a piping bag fitted with a size 1 or size 2 piping tip—my favorite method is to use a small cookie decorating bottle with a size 2 tip for better control.
- Working quickly, pipe lines in a zig-zag motion on top of the Oreos to form the shape of abstract trees. This works best if you decorate 1 or 2 Oreos at a time to ensure your lines adhere to the base before they set.
- Get creative and add your decorative toppings! Whether it’s nonpareils, stars, or jimmies, sprinkle them on before the chocolate sets completely.
- Allow the cookies to set completely before serving or packaging them as gifts.
- Store any leftovers at room temperature for up to 2 weeks. If you’d like to keep them longer, Oreos can be frozen for up to 2 months, but be aware that they may lose some crunch. If you freeze them, wrap them tightly and thaw at room temperature in a single layer.
Nutritional Information
- Calories: 120
- Total Fat: 7g
- Saturated Fat: 4g
- Trans Fat: 0g
- Cholesterol: 1mg
- Sodium: 30mg
- Total Carbohydrates: 15g
- Dietary Fiber: 0g
- Sugars: 9g
- Protein: 1g
How to Serve Christmas Oreos
Serving Christmas Oreos is as delightful as making them! Present them on a festive platter to showcase their colorful designs, perhaps alongside a warm cup of hot cocoa or spiced apple cider for a delicious pairing. They also make fantastic party favors wrapped in cellophane with a pretty ribbon or placed in a decorative box. For a fun experience, set up a mini cookie-decorating station during holiday gatherings where guests can help decorate their Oreos!
How to Store Christmas Oreos
To keep your Christmas Oreos fresh, store them in an airtight container at room temperature for up to 2 weeks. If you’ve made a big batch and want to hold onto them longer, they freeze nicely for up to 2 months. Just be sure to wrap them tightly to avoid freezer burn, and remember that they may lose some crunch once thawed.
Expert Tips for Perfect Christmas Oreos
- Work Quickly: The candy melts start to set quite fast, so decorate a few Oreos at a time.
- Avoid Overheating: When melting chocolate or candy melts, do it in small intervals in the microwave to prevent burning.
- Keeping it Looking Fresh: If you have leftover melted chocolate, consider dipping pretzels or other candies for a little extra treat!
- Temperature Matters: Ensure your Oreos are at room temperature before dipping to prevent the chocolate from hardening too quickly.
Delicious Variations
- Peppermint Twist: Crush some candy canes and sprinkle them on top of the melted green candy for a minty crunch.
- Chocolate Dipped: Try dipping the Oreos in dark chocolate instead of white for a richer flavor.
- Drizzled Delight: After the green chocolate sets, drizzle some melted white chocolate on top for an eye-catching finish.
Frequently Asked Questions
1. Can I use regular chocolate instead of white chocolate?
Absolutely! Regular milk or dark chocolate can give your Oreos a deliciously rich flavor. Just melt it the same way you would the white chocolate.
2. How can I make these gluten-free?
Use gluten-free Oreo cookies. They taste just as great and will work perfectly with the rest of the recipe.
3. What if I can’t find candy melts?
You can substitute with chocolate chips, but note that they might not set as smoothly or brightly as candy melts.
Conclusion
These Christmas Oreos are a festive twist on a beloved classic that your family and friends will adore. They are easy to make, fun to decorate, and perfect for sharing during the holiday season. So, gather your ingredients, grab some help from the little ones, and create delicious memories. Don’t forget to share your creations—you’ll inspire others to join in the festive fun! Happy baking!